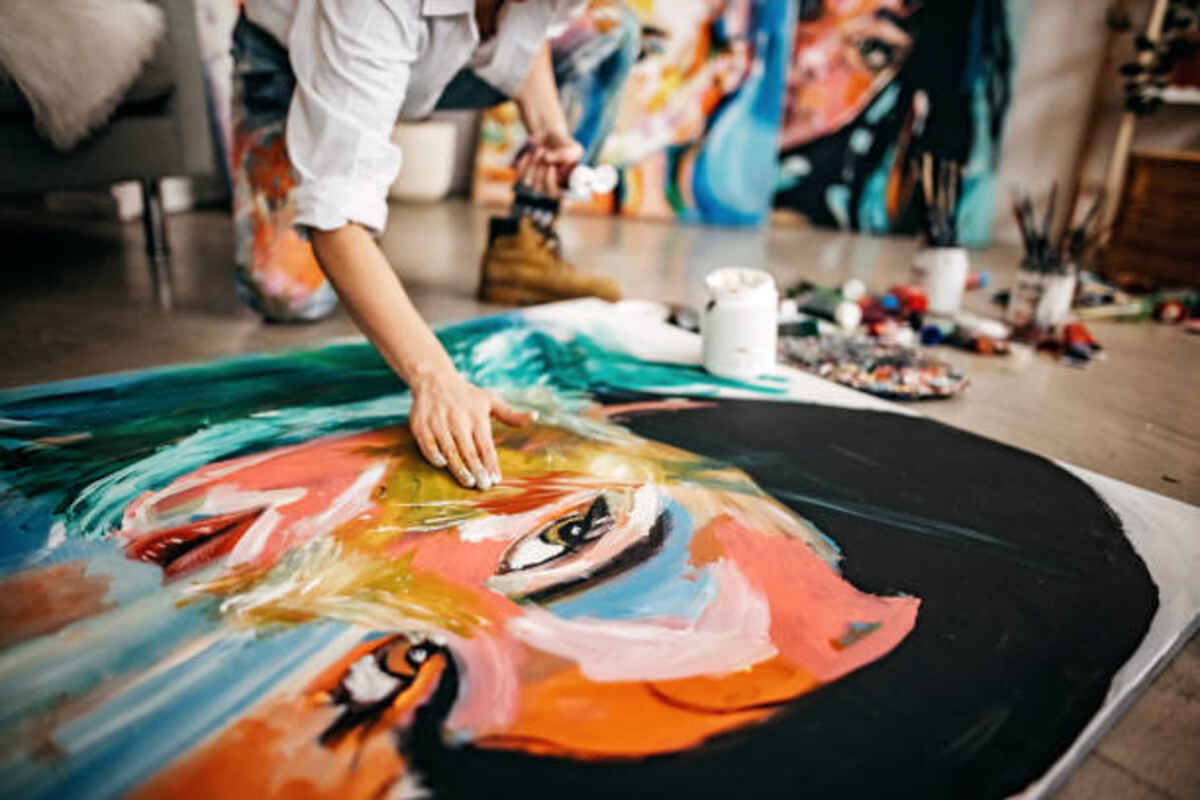
If you have been looking for a tutorial on Clip Studio Paint and how to create realistic artwork, look no further. This clip focuses on rendering muscles, making it a useful tool for creating artwork that looks real. It also shows how to create watercolor edges and 3D models. You’ll also learn how to create custom brushes in the program.
How to create a realistic portrait in Clip Studio Paint
Clip Studio Paint is a digital drawing tool that combines traditional drawing techniques with the power of digital tools. It is free to download for up to 3 months and is available for Windows, Mac, iOS, and Android devices. Learn how to use the application and create realistic portraits most efficiently.
To create realistic portraits, you should understand the principles of shading in Clip Studio Paint. You should be able to mimic real-world shading and the look of human flesh and muscle with this software. The tutorial also focuses on how to render muscles. Once you have an idea of how to use these tools, you can move on to creating more complex portraits.
The first step in creating a realistic portrait in Clip Studio Paint is to look at the reference photo you wish to draw. Make sure you have the proportions right. Then, use any of the brushes available to you in Clip Studio Paint. You can also use oils, pastels, or markers. Be sure to set the brush size too small, and vary the width of your lines.