Hey there, future HVAC expert! So, you’re ready to dive into the world of heat pump installation? Awesome! Whether you’re a homeowner looking to upgrade your home heating system or an aspiring HVAC professional, this guide will walk you through the ins and outs of installing a heat pump. We’ll keep things simple, engaging, and super easy to follow. Let’s get started! Find the best heat pump installation.
What is a Heat Pump and Why Choose It?
Before we jump into the nitty-gritty of installation, let’s talk about what a heat pump actually is. In simple terms, a heat pump is an HVAC system that can both heat and cool your home. It’s like magic, but with science!
How Heat Pumps Work
At the core of a heat pump’s operation is the principle of heat transfer. Unlike traditional systems that generate heat, heat pumps transfer heat from one place to another. During the winter, they extract heat from the outside air and move it indoors. In the summer, the process reverses, removing heat from inside your home and releasing it outdoors. This efficient cycle makes them incredibly versatile and energy-efficient.
Types of Heat Pumps
There are several types of heat pumps to choose from, each suited for different environments and needs. Air-source heat pumps are the most common, ideal for moderate climates. Ground-source or geothermal heat pumps, on the other hand, draw heat from the earth, offering even greater efficiency but at a higher installation cost. Finally, there’s the ductless mini-split system, perfect for homes without existing ductwork. Understanding these options can help you select the best system for your home.
Benefits of Installing a Heat Pump
- Energy Efficiency: Heat pumps use less electricity compared to traditional heating and cooling systems. They transfer heat instead of generating it, which is a big win for your energy bills! By leveraging the ambient heat in the environment, they significantly reduce the need for electrical consumption.
- Year-Round Comfort: No need for separate systems for heating and cooling. A heat pump does it all, keeping you comfy through every season. This dual functionality not only saves space but also simplifies home maintenance, ensuring you’re comfortable no matter the weather.
- Environmentally Friendly: By using less energy, heat pumps are kinder to the planet. Plus, many models use eco-friendly refrigerants. This reduction in carbon footprint aligns with global efforts to combat climate change, making heat pumps a sustainable choice for environmentally conscious homeowners.
Preparing for Installation
Alright, let’s get down to business. Before you start installing, there are a few things you need to prep.
Assess Your Space
Take a good look at your home and figure out the best location for your heat pump. Typically, you’ll need both an indoor and an outdoor unit. Make sure there’s enough space for airflow around these units. Consider potential obstructions like fences, plants, or other equipment that could interfere with performance. A clear area ensures optimal efficiency and longevity of your system.
Gather Your Tools
Here’s a handy list of tools you’ll need:
- Screwdriver Set: Essential for securing various components during installation.
- Drill: Necessary for creating precise holes for mounting brackets and other fixtures.
- Level: Ensures that your units and brackets are perfectly horizontal and stable.
- Tape Measure: Vital for accurate placement and spacing of components.
- Pipe Wrench: Used for tightening plumbing connections to prevent leaks.
- Vacuum Pump: Crucial for removing air and moisture from the refrigerant lines to maintain system efficiency.
Secure Necessary Permits
Before you proceed with installation, it’s important to check local regulations. Depending on where you live, installing a heat pump might require permits. These permits ensure that your installation complies with building codes and safety standards. Contact your local building authority to understand the specific requirements in your area. This step can save you from potential legal issues and ensure that your installation is safe and up to standard.
Step-by-Step Heat Pump Installation
Ready to get your hands dirty? Let’s break this down into simple steps.
Step 1: Set Up the Indoor Unit
- Find the Right Spot: Choose a spot on an interior wall that’s free from obstructions. Use a level to mark where the unit will go. It’s essential to consider proximity to electrical outlets and the distance from the outdoor unit to minimize energy loss.
- Mount the Bracket: Secure the mounting bracket to the wall using screws. Make sure it’s nice and level. Double-check that the bracket is firmly attached to the studs in the wall to support the unit’s weight safely.
- Connect the Pipes: Attach the refrigerant piping and drain pipe to the indoor unit. Make sure everything is snug and secure. Proper insulation of the pipes is crucial to prevent condensation and ensure efficient operation.
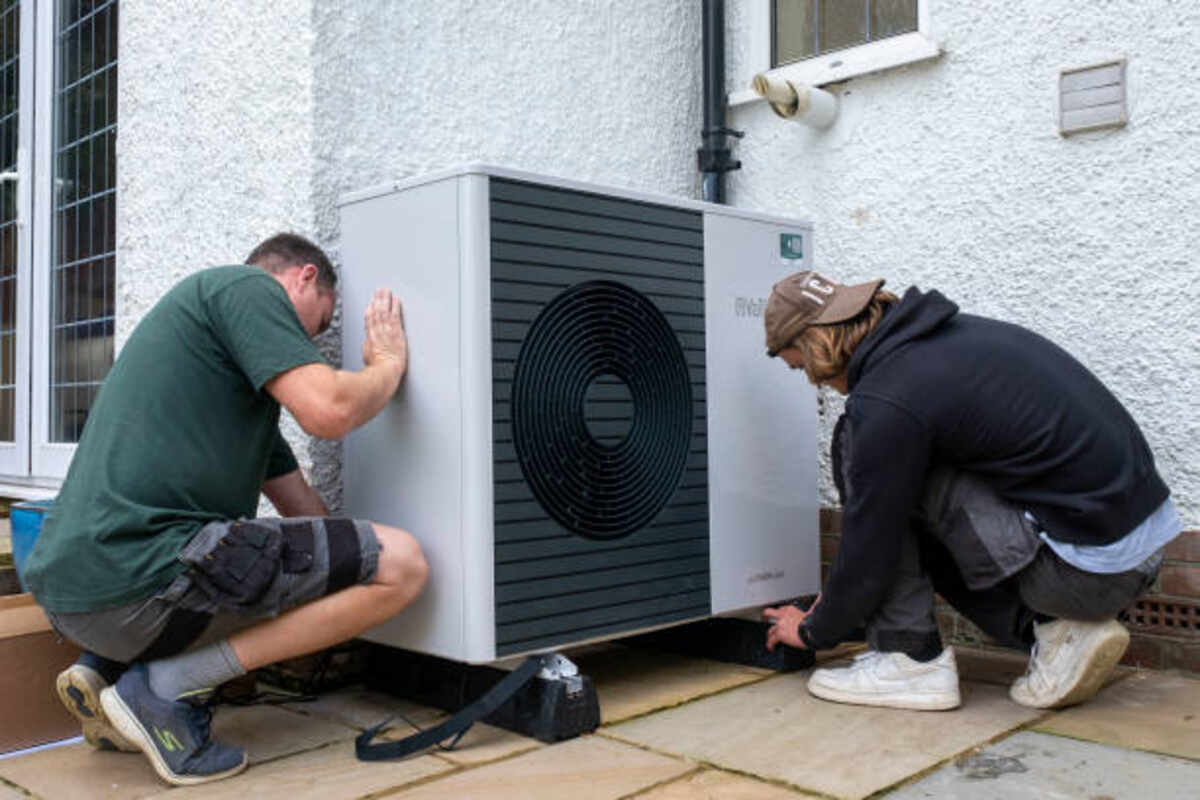
Step 2: Install the Outdoor Unit
- Select the Location: Pick a spot outside that has good airflow and is away from direct sunlight. The unit should sit on a solid, level surface. Avoid placing it near bedrooms or living areas to minimize noise disturbance.
- Place the Unit: Secure the outdoor unit to the base using bolts. Make sure it’s stable and won’t tip over. Consider using vibration-absorbing pads to reduce noise and prolong the life of the unit.
- Connect the Pipes and Wires: Link the pipes from the indoor unit to the outdoor unit. Then, connect the electrical wires. Double-check all connections are tight. Pay special attention to the wiring diagram provided by the manufacturer to avoid any electrical mishaps.
Step 3: Final Checks and Testing
- Vacuum the System: Use a vacuum pump to remove any air and moisture from the system. This step is crucial for efficiency. Removing moisture prevents corrosion and ensures the refrigerant flows smoothly through the system.
- Check for Leaks: Inspect all connections for leaks. Tighten anything that seems loose. A small leak can lead to significant efficiency losses and should be addressed immediately.
- Power It Up: Turn on the power and test the system. Check both heating and cooling functions to ensure everything’s working perfectly. Monitor the system for a few days to ensure consistent operation and listen for any unusual sounds that might indicate a problem.
Maintenance Tips for Longevity
Congratulations! You’ve installed your heat pump. To keep it running smoothly, here are a few maintenance tips:
Regular Cleaning
Clean or replace air filters every month or so. Dust and debris can clog the system and reduce efficiency. Regular cleaning of the coils and fans is also recommended to prevent buildup that could impede airflow. By keeping these components clean, you ensure that your system operates at peak performance and uses energy efficiently.
Schedule Professional Check-Ups
Have an HVAC professional inspect your system annually to catch any potential issues early. A trained technician can identify and fix problems that may not be apparent to the untrained eye. These check-ups can extend the life of your system and save you money in the long run by preventing costly repairs.
Monitor Energy Bills
If you notice a spike in energy costs, it might be time for a maintenance check. Unexplained increases in electricity usage could indicate that your system is not running as efficiently as it should. Addressing this promptly can prevent further inefficiencies and help keep your energy costs in check.
Troubleshooting Common Issues
Even with the best systems, things can go awry. Here are some common issues and quick fixes:
Unit Not Heating/Cooling
Check the thermostat settings and ensure it’s set correctly. If the issue persists, inspect the power supply. Sometimes, a simple reset of the system can resolve the issue. If not, it might be a sign of a more serious problem, such as a malfunctioning compressor or a refrigerant leak, requiring professional assistance.
Strange Noises
Rattling or buzzing sounds could indicate loose parts. Tighten any loose bolts and check for debris. If noises continue, it could be a sign of a more significant issue, such as a failing fan motor or compressor. Addressing these problems early can prevent more severe damage.
Ice Build-Up
If ice forms on the unit, it might be a sign of a refrigerant leak or airflow problem. Turn off the system and call a professional for help. Operating a system with ice build-up can cause significant damage to the compressor and other components. It’s crucial to resolve this issue promptly to avoid costly repairs.
Wrapping Up
And there you have it! A complete guide to heat pump installation that’s as easy as pie. By now, you should feel more confident about tackling this project. Remember, whether you’re a DIY enthusiast or a budding HVAC pro, practice makes perfect.
Have fun with your installation, and enjoy the comfort of your energy-efficient, eco-friendly heat pump. Happy installing!