Potatoes are an integral part of many cultures around the world, as they’re an easy crop to cultivate and adaptable enough to flourish even under challenging soil conditions and growing seasons. The best guide on how to grow potatoes?
Start by purchasing certified disease-free seed potatoes from home improvement or garden centers, placing them in a warm area to encourage sprouting (known as “chitting”), then when seed pieces reach approximately the size of an eggshell, remove them from light to allow any cut edges to heal over.
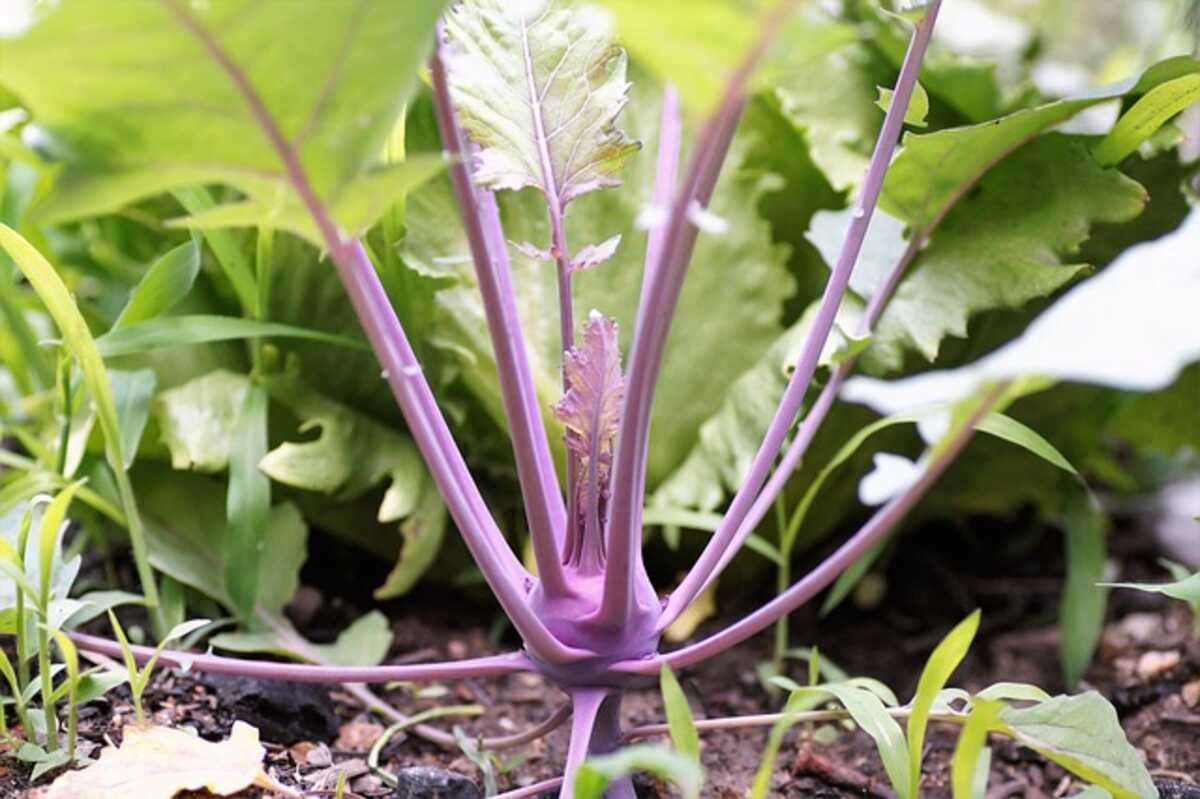
Prepare the Soil
Potatoes, like tomatoes and capsicums, need rich, loose, slightly acidic soil (pH six or below) with good drainage for maximum success. Heavy clay soil can prove detrimental.
For optimal results, rotating potatoes between various parts of the garden annually to prevent disease and insect issues is known as crop rotation. To prepare the planting spot, dig holes 6 to 8 inches deep for each seed piece that contains 6-8 seeds each, and mix in some well-aged manure into the soil before planting with its “eyes” facing upward. Space early types 16 inches apart in both directions, while 18-inch spacing applies for maincrop varieties; add 4-6 inches of soil on top before lightly scattering mulch or composting over your bed in order to conserve moisture and reduce weed control!
As your plants begin to emerge, slowly hill additional soil over their leaves until all stems have been covered with soil – this will increase yields significantly! Continue this practice until the foliage reaches one foot tall, or provide frost protection in case an unexpected late-season freeze arrives.
If your garden space is limited, growing potatoes in large containers may be the better option. This approach avoids hilling but may require additional watering to keep the potatoes hydrated.
Planting
Potatoes require plenty of sunlight and water in order to thrive and produce big and healthy crops. If growing potatoes in containers, add six inches of fast-draining potting soil at the base, along with an application of liquid fertilizer each week; when planting in the ground, use a high nitrogen/low phosphorous product.
To plant potatoes, prepare planting holes or trenches 6-8 inches deep and 12-18 inches apart. Place one seed potato chunk with its cut side down and sprouts/eyes facing up in each hole; fill up the remaining soil around plants so light doesn’t reach their sprouts aboveground (earthing-up); continue doing this as plants expand, adding another layer of soil each time.
Avoid frost-blight by planting in late winter/early spring in cold climate gardens and later summer for gardens located in warm regions. If needed, using warming fleece or row cover fabric may provide extra protection for young foliage and shoots from frost blighting.
Some gardeners opt to grow potatoes in straw, wrapping the 8-inch tall stems with it to save digging and provide a more accessible introduction to this versatile crop. Keep in mind, however, that as it breaks down throughout the growing season, it will need replacing regularly if your crop continues growing successfully.
Harvesting
Potatoes thrive in well-draining soil but are hardy enough to thrive under most garden conditions. If your soil is challenging, amend it in fall with compost or manure; rainwater will penetrate its top layers easily while earthworms work it into the top layer so your potatoes receive all their essential nutrients more readily.
Launch with certified disease-free seed potatoes available from home improvement, farm, and garden centers or online. Avoid buying supermarket potatoes, which may contain growth inhibitors to stop sprouting. It’s wise to avoid planting potatoes where tomatoes or eggplants were previously grown, as these belong to the nightshade family and could attract pests that cause problems for these newcomers as well.
Once your seed potatoes sprout, dig a test hill to gauge when they will reach maturity. Mature potatoes should feel firm to the touch and peel easily, while immature sprouts or soft sprouts still need time to grow into maturity.
Once the stems of your potato plants reach 8 inches tall, begin hilling them by mounding soil around them to bury one-third of their lower stems. Continue this task as the plants continue to expand by adding additional soil each time you mound. Mulching helps conserve moisture, control weeds, and keep potatoes cool, as well as prevent greening, which leads to bitter-tasting flesh.
Storage
Potatoes thrive best in cool and dark conditions after harvest. After being stored, it’s essential to keep them somewhere dark to prevent greening (which results in bitter-tasting potatoes) occurring; an ideal place for this is in a pantry or basement, but baskets or cardboard boxes lined with newspapers also work just fine. Storing in this manner should help extend their shelf life up to six months!
If you want your potatoes to last as long as possible, avoid washing them prior to storage. Washing introduces moisture, which encourages mold and rots growth. Instead, scrub with a brush until any dirt and debris have been removed from them.
Some gardeners prefer scatter planting their potatoes instead of planting in rows, which requires less soil but can be tricky to manage, producing inconsistent-sized potatoes. When trying this technique, be sure to select a site with good drainage in order to avoid standing water issues and add plenty of organic matter like well-rotted manure or organic matter (OM).
Timing your potato planting to occur shortly before the first frost in your area is ideal to avoid potential pests while ensuring maximum harvest potential for your spuds. Rotating between various parts of your garden each year also helps prevent disease or insects from ruining your crop.